Installation
method 1: use msi installation
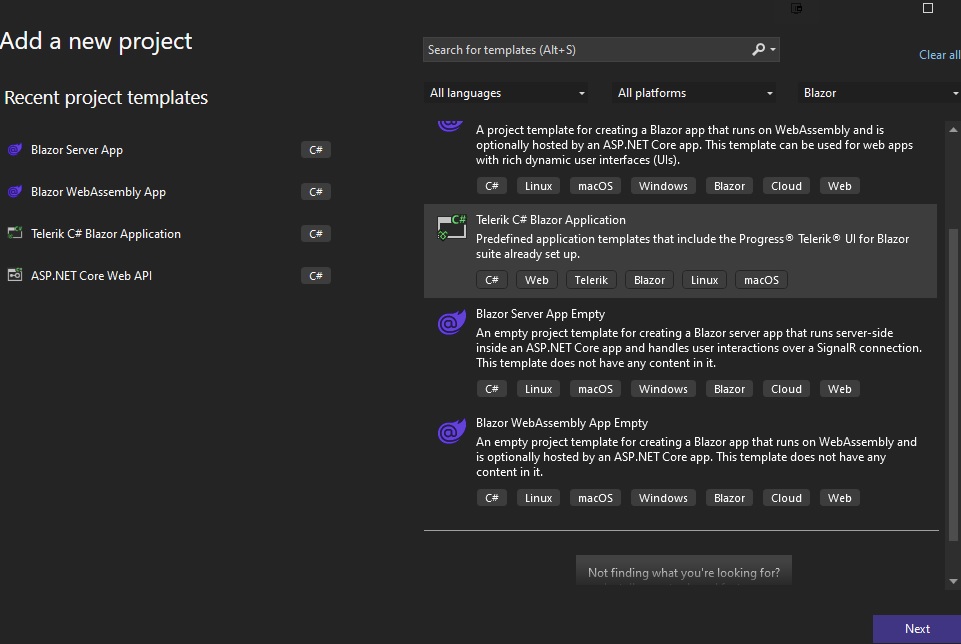
it enables vs to create Telerik Blazor application
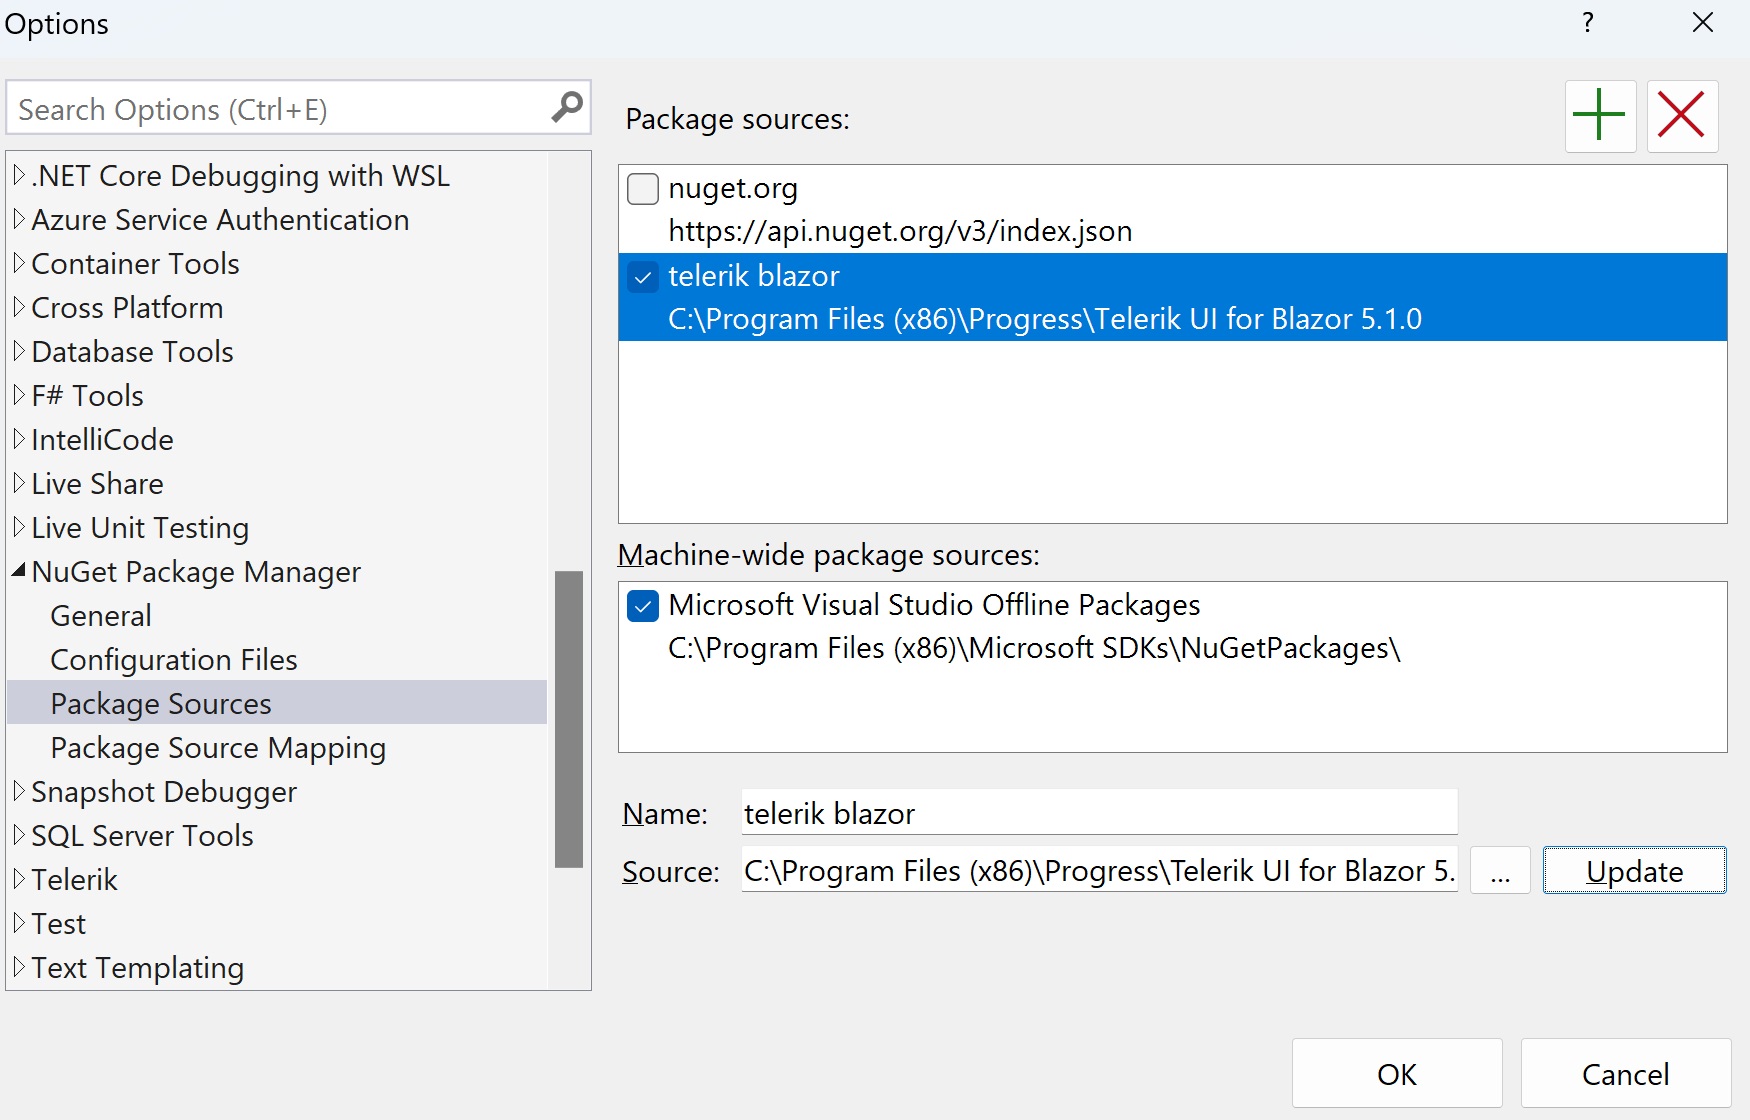
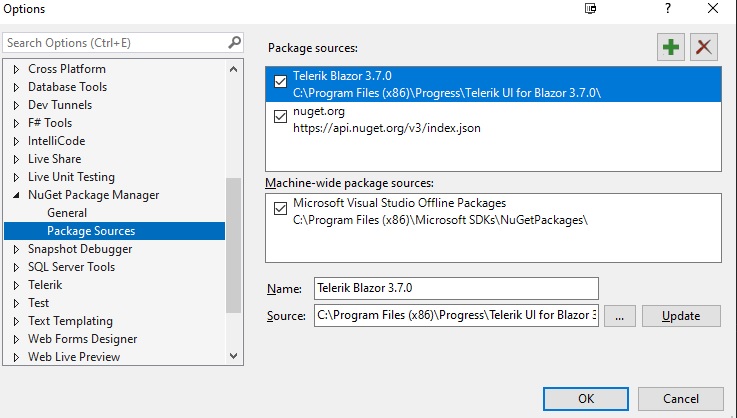
vs > options > package sources > add telerik blazor
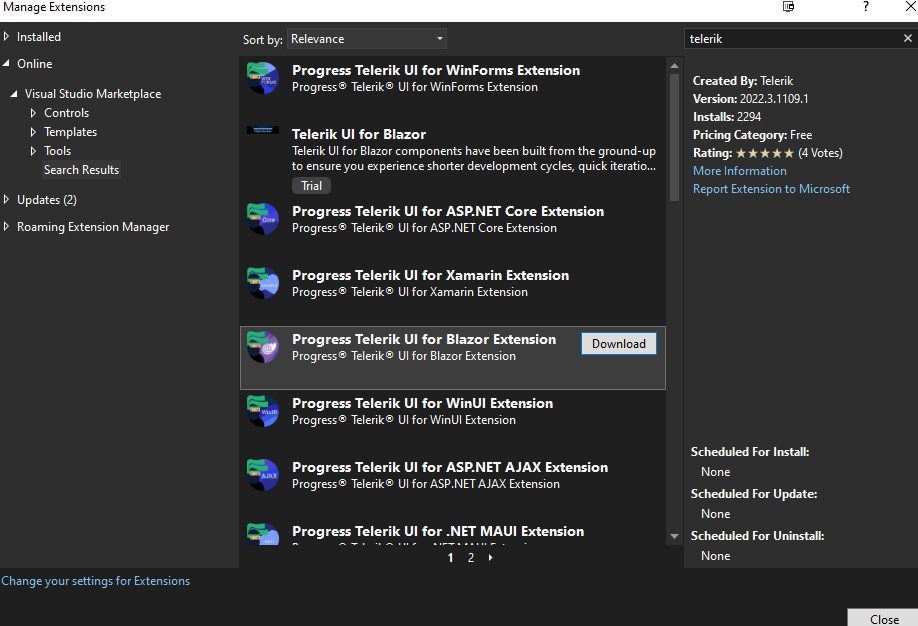
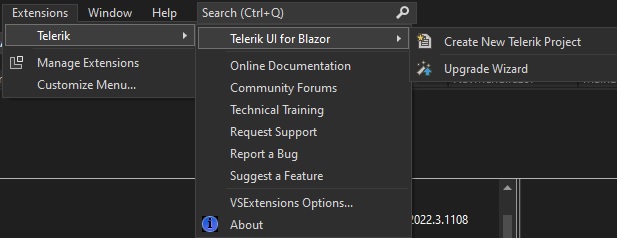
method 2: install Telerik Blazor extension, then create brand new Telerik Blazor application
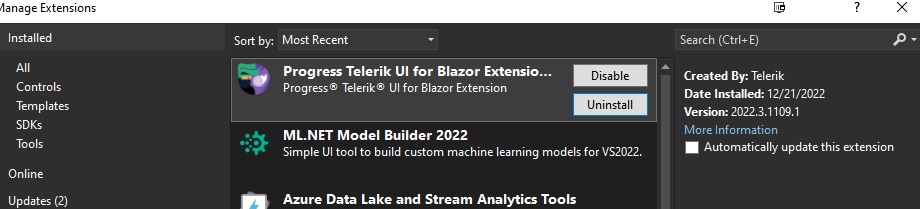
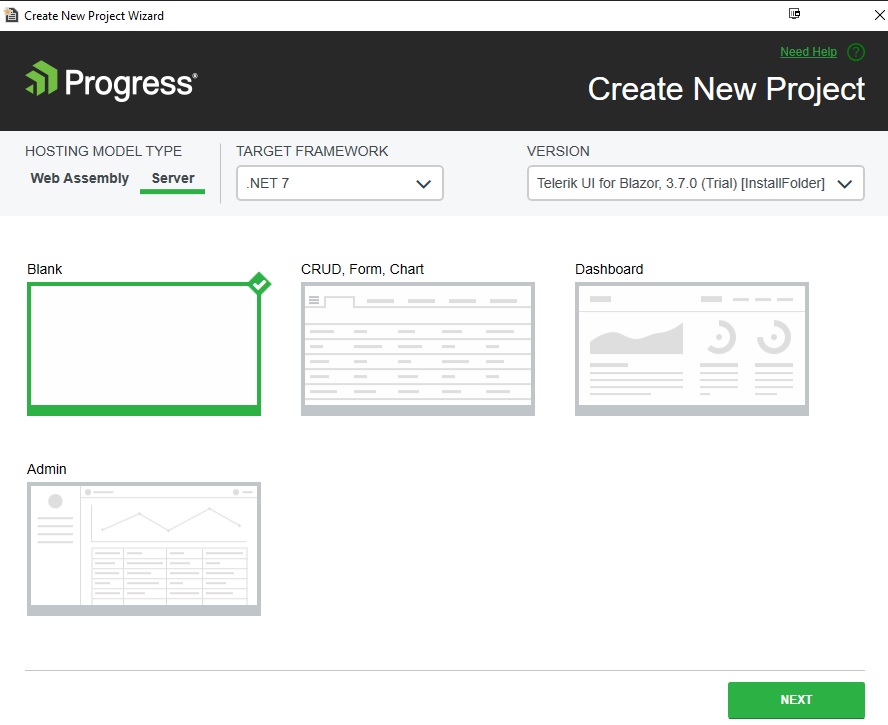
After installation, you got
method 3: use nuget to install libs to existing project; then config Startup.cs
-
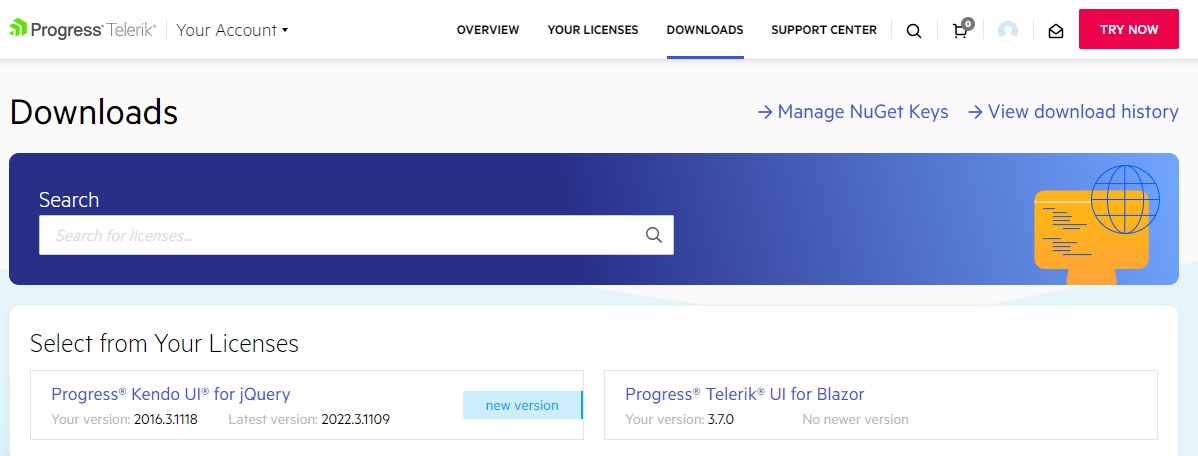
add ui components: download zip package at https://www.telerik.com/account/downloads
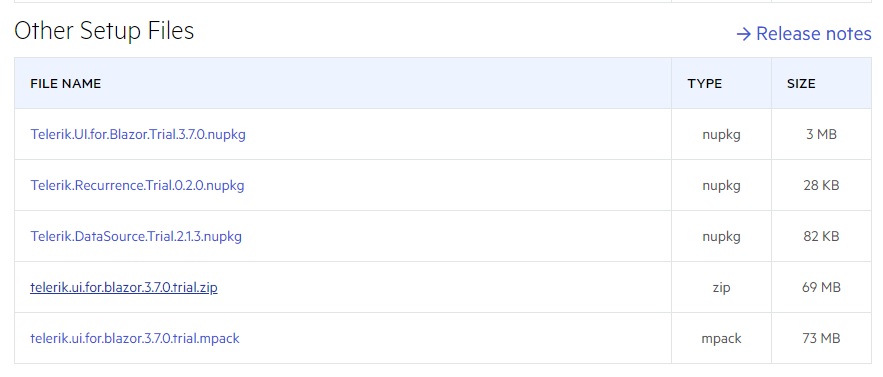
unzip > vs > manage nuget package source > point to the unzip folder; or simply set as https://nuget.telerik.com/nuget
select
Telerik.UI.for.Blazor
-
add css
if server model > Pages > _Host.cshtml > add
 <link rel="stylesheet" href="_content/Telerik.UI.for.Blazor.Trial/css/kendo-theme-bootstrap/all.css" />

 <script src="_content/Telerik.UI.for.Blazor.Trial/js/telerik-blazor.js" defer></script>
if client(webassembly) model > modify wwwroot > index.razor
-
add reference
if server model > _imports.razor
@using Telerik.Blazor @using Telerik.Blazor.Components -
if server model > modify Startup.cs or Program.cs
builder.Services.AddRazorPages(); builder.Services.AddServerSideBlazor(); builder.Services.AddTelerikBlazor(); builder.Services.AddSingleton<WeatherForecastService>(); -
modify MainLayout.razor > wrap all content into
<TelerikRootComponent>