Prepare environment
- operating system windows 10+, sql server 2022 developer+
-
control panel > program and features > turn windows feature on/off > IIS > Application Development Features > select all
![[20250418-nop-1.jpg]]
- For nopCommerce 4.80: Install .NET 9 runtime Download .NET (Linux, macOS, and Windows)
-
For nopCommerce 4.80 or above: MS Visual Studio 2022 (version 17.12 or above). install .NET 9 SDK (download)** ![[20250418-nop-2.jpg]]
-
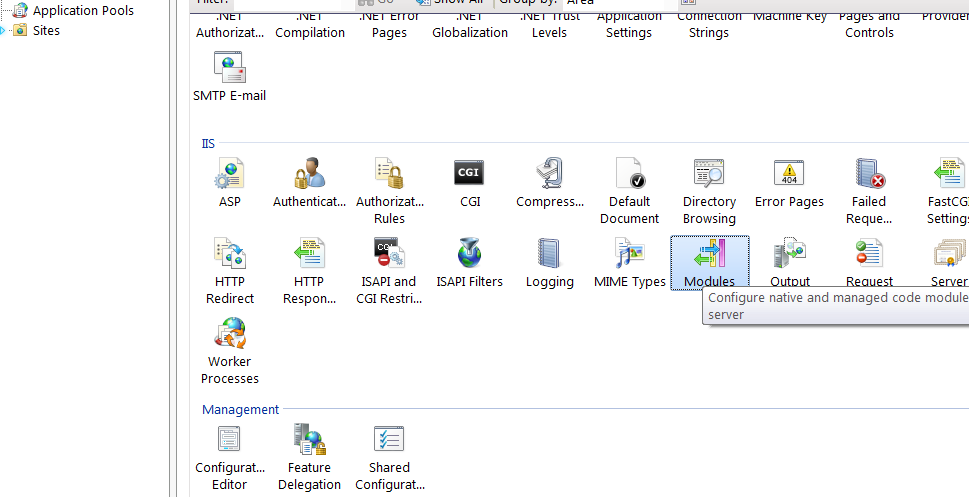
open iis > root > modules, check aspnetcore module
Install website without source code
-
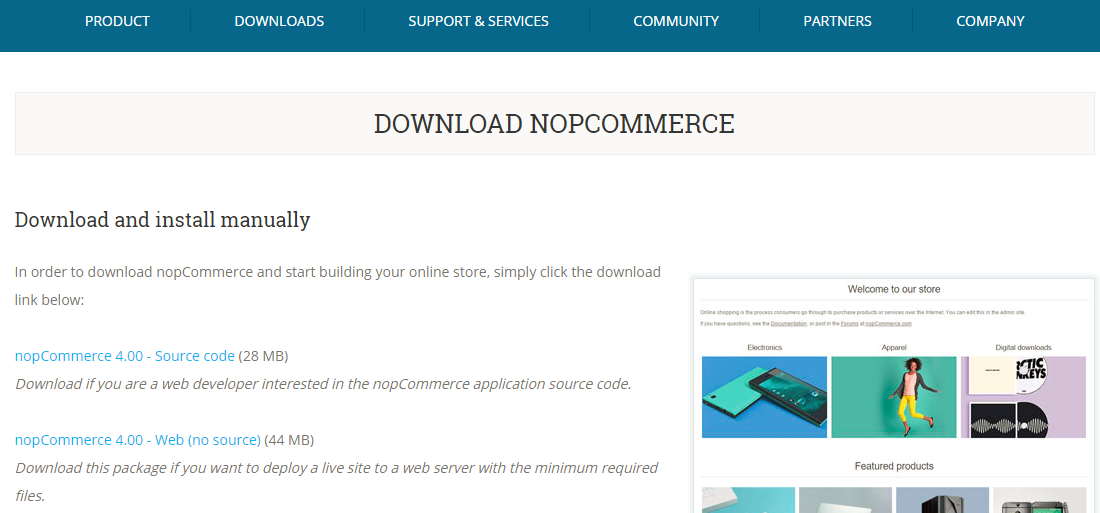
download nopCommerce - Web (no source) at https://www.nopcommerce.com/downloads.aspx
- Enable IIS at Settings > Windows feature on/off
-
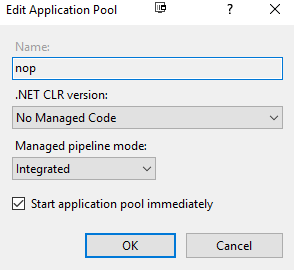
IIS > application pools > add a new application pool > CLR version - No Managed Code
-
unzip the dist files > IIS > sites > new a website > application pool is the new added one

-
open browser > navigate to the new website
-
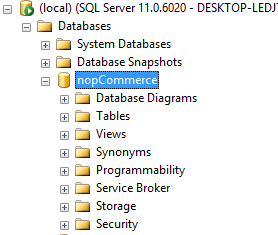
sql server manage studio > create a new empty database
-
return to website > enter database credentials, set admin password

-
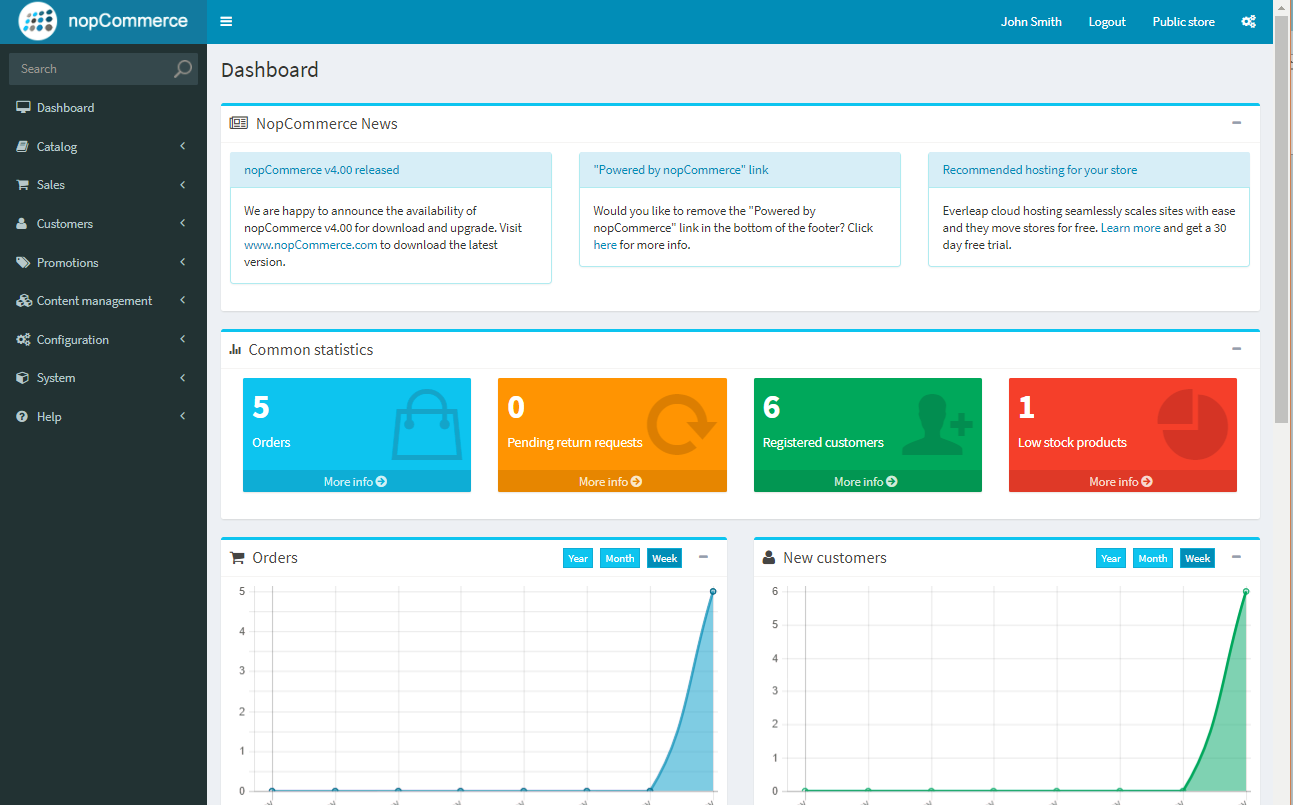
Test the website, login with admin password
Install the website with source code
download
fork 官方仓库到自己github账号 clone 到本地
git clone https://github.com/andyfengc/Smartstore
cd nopCommerce
# 查看远程仓库
git remote -v
# 添加 upstream,如果还没添加
git remote add upstream https://github.com/nopSolutions/nopCommerce.git
二次开发
visual studio 2026 develop 主分支:保持与
upstream/develop完全一致,只用来接收官方更新,不要在这里写任何代码。 创建local分支进行开发git checkout -b local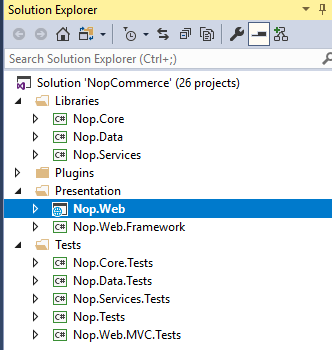 当官方发布新功能或补丁时,保持同步:
```
当官方发布新功能或补丁时,保持同步:
```拉取 upstream 的最新信息.把官方仓库的所有分支信息拉取到本地,但不会修改你的分支。
git fetch upstream
官方最新更新在 develop 分支
切换到本地主分支
git checkout develop
从官方主分支 upstream/develop 拉取最新更新
git pull upstream develop
将更新推送到自己的 fork
git push origin develop
这一步保证了你的 fork 的 develop 分支和官方保持一致。
将更新合并到你的 local 分支
git checkout local git merge develop
`Nop.Core` 核心底层逻辑
`Nop.Services` 核心业务逻辑
`Nop.Data`
`Nop.Web`
可以修改:
`Plugins` 所有的功能开发都应该在这里以独立插件形式存在。
编译整个solution
发布成 AnyCPU,如果是发布到免费域名空间,尽量用x86
## 配置数据库
第一次运行,新建数据库:
打开 **SQL Server Management Studio (SSMS)**
**用sa用户**创建一个新数据库,比如 NopCommerce
配置连接字符串:
在 `Nop.Web/App_Data/appsettings.json`
**设置启动项目**:在解决方案管理器中,找到 **`Nop.Web`** 项目,右键点击 **“设为启动项目”**。
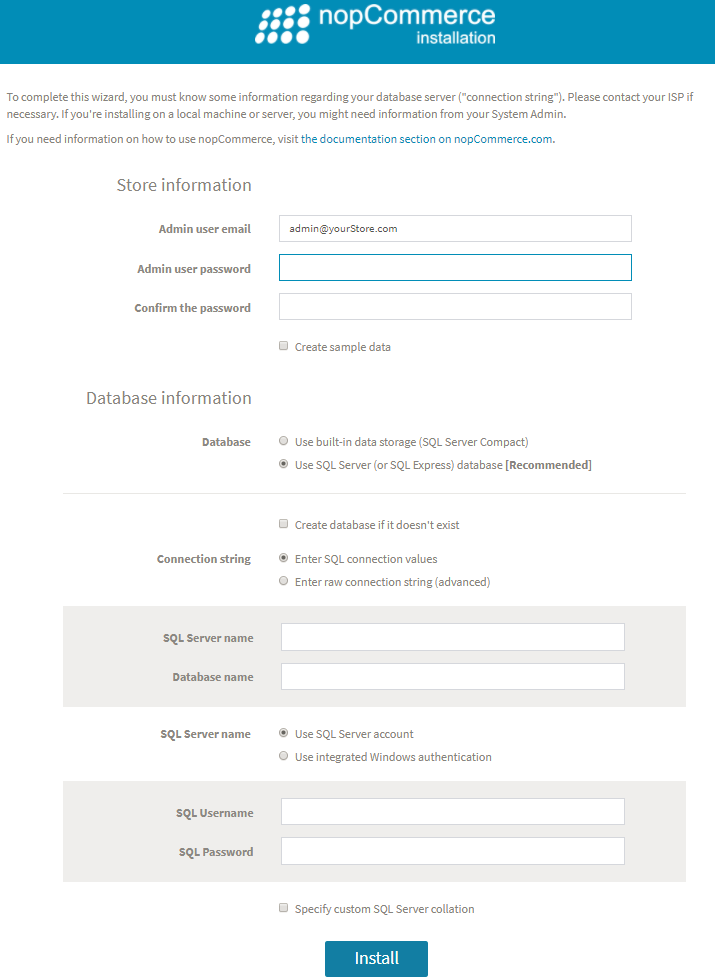
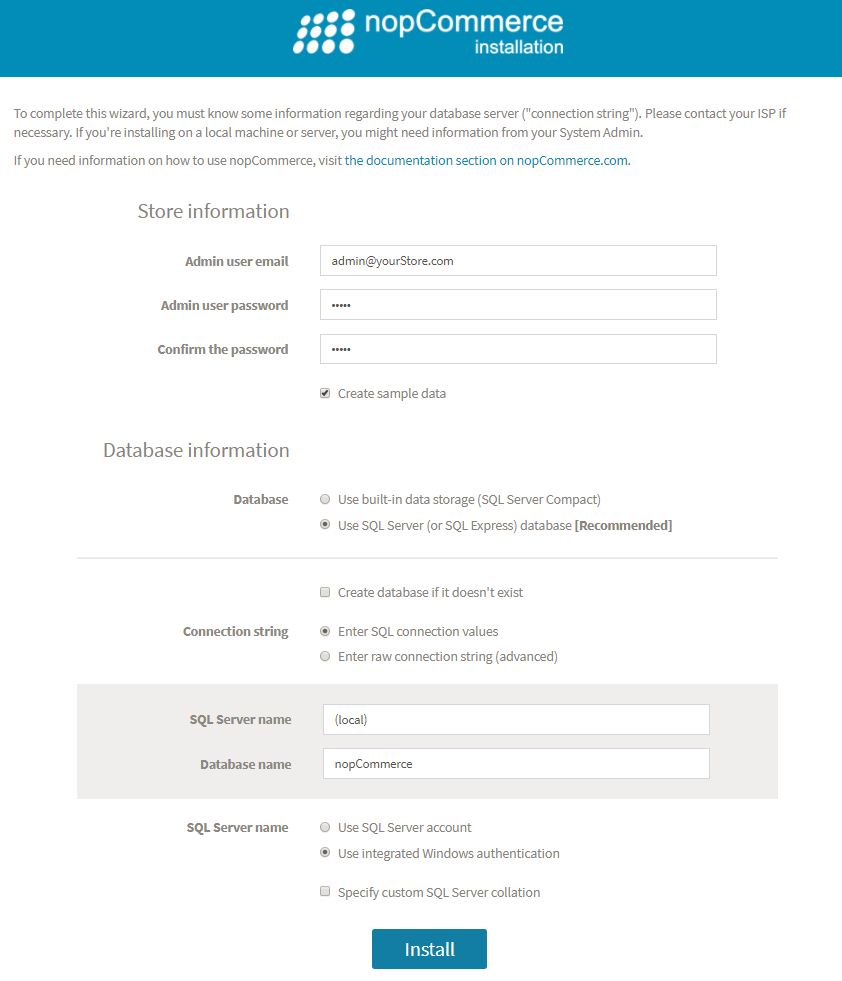
**按 F5 启动**:程序启动后,浏览器会自动打开安装向导页面。

- **配置参数**:
- **管理员邮箱/密码**:用于登录后台。
- **数据库配置**:输入你的 SQL Server 名称(本地通常是 `.` 或 `localhost`)和数据库名。勾选“如果数据库不存在则创建”。
安装界面选手动输入connection string:
Server=localhost;Database=nop_dev;Integrated Security=True;TrustServerCertificate=True;
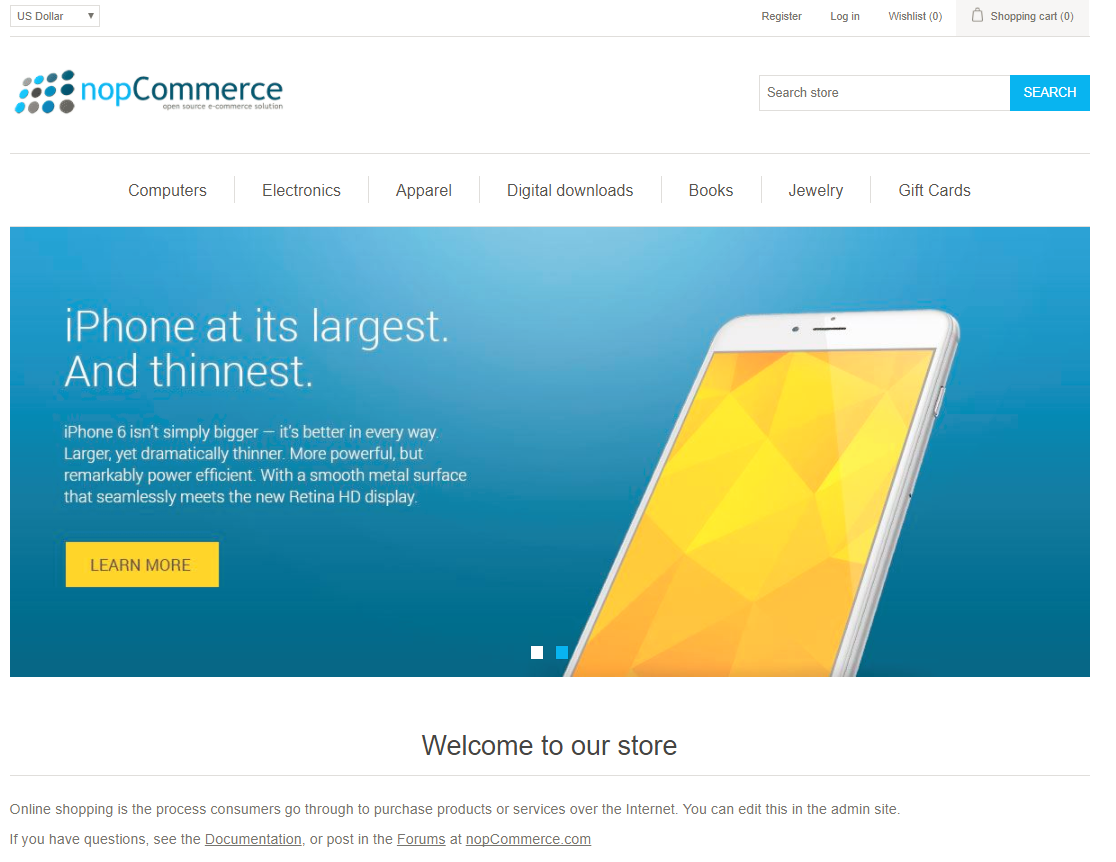
- 点击“安装”,稍等片刻,系统会自动初始化表结构并进入商店首页。
可选:创建一个新用户 IIS APPPOOL\[iis website name]
验证方式选 windows 身份验证
服务器角色选sysadmin


已有数据库:
nop.web project > App_Data > appsettings.json > change the connection string.
{ “ConnectionStrings”: { “ConnectionString”: “Server=localhost;Database=nop_dev;Integrated Security=True;TrustServerCertificate=True;”, “DataProvider”: “sqlserver”, “SQLCommandTimeout”: null, “WithNoLock”: false, “Collation”: null, “CharacterSet”: null }, …
4. visual studio > set nop.web project as startup > run

# 开发插件
- **插件机制**:nopCommerce 的插件在编译时会自动复制到 `Nop.Web/Plugins` 目录下。如果你修改了某个插件的代码,记得单独生成该插件项目。
- **权限问题**:发布到 IIS 服务器时,确保给 `App_Data` 和 `wwwroot` 文件夹授予 **IIS_IUSRS** 用户的读写权限。
# 配置网站
| 动作 | 位置 |
| --------------- | ---------------------------------------------------------------------------------------------------------------------------------------------------------------------------------------------------------------------------------------------- |
| 安装 Smartstore | 搭建基础环境并连接数据库。 |
| 设置附件存储位置 | `Configuration` -> `Settings` -> `Media settings` |
| 设置store 名称,logo | **商店 Logo**Configuration -> Settings -> General settings -> Logo -> Upload<br>**商店名称**Configuration -> Stores -> Edit (选择你的商店) -> Store name -> SEO <br>**页面标题**Configuration -> Settings -> General settings -> SEO settings -> Default title |
| 配置货币 | Configuration > currencies<br>取消usd的published |
| 语言 | Configuration > language<br>Configuration > language > import resource |
| 创建目录 | 设置 `Categories` (分类) |
| 创建manufacturer | |
| 添加产品 | |
| 设置菜单 | content management > menus |
| 配置支付方式 | Configuration > payment method |
| 物流 | Configuration → Shipping → Shipping Methods |
| 清理不必要的widget | configuration > widget > Swiper widget inactive |
| 搜索框的缩略图 | configuration > catalog settings > advance > Show product images in autocomplete box > enable |
| product review | configuration > catalog settings > advance > review |
| 安装插件 | <br><br> |
| 配置用户注册方式 | Configuration > Customer settings |
| 配置邮件 | Configuration > Email-account<br>CMS > Message Templates<br>System > Message Queue |
| 配置社交媒体登录 | Plugins > manage plugins<br>customer > External authentication methods |
| 使用 Page Builder | 装修你的首页和自定义营销页面。 |
## 安装theme
## 安装插件
Payments.CashOnDelivery
NopStation.Plugin.ExternalAuth.Google
## 申请oauth api key
| **平台** | **开发者平台地址** | **需要申请的权限 / Key** |
| ------------------------ | --------------------------------------------------------------------------------------------------- | ------------------------------------- |
| **Google** | [https://console.cloud.google.com/](https://console.cloud.google.com/) | OAuth 2.0 Client ID |
| **Facebook** | [https://developers.facebook.com/](https://developers.facebook.com/) | App ID + App Secret |
| **Microsoft (Azure AD)** | [https://portal.azure.com/](https://portal.azure.com/) → Azure Active Directory → App registrations | Client ID + Client Secret |
| **Apple** | [https://developer.apple.com/account/](https://developer.apple.com/account/) | Services ID + Key ID + Team ID |
| **GitHub** | [https://github.com/settings/developers](https://github.com/settings/developers) | OAuth App Client ID + Secret |
| **Twitter / X** | [https://developer.twitter.com/](https://developer.twitter.com/) | OAuth 2.0 Client ID + Secret |
| **LinkedIn** | [https://www.linkedin.com/developers/](https://www.linkedin.com/developers/) | Client ID + Client Secret |
| **Amazon** | [https://developer.amazon.com/](https://developer.amazon.com/) | Client ID + Client Secret |
| **PayPal(登录用)** | [https://developer.paypal.com/](https://developer.paypal.com/) | Client ID + Secret |
| **WeChat(微信)** | [https://open.weixin.qq.com/](https://open.weixin.qq.com/) | AppID + AppSecret<br>网站应用微信登录 (需主体认证) |
| **QQ** | [https://connect.qq.com/](https://connect.qq.com/) | App ID + App Key |
| **Weibo(微博)** | [https://open.weibo.com/](https://open.weibo.com/) | App Key + App Secret |
| **Discord** | [https://discord.com/developers/applications](https://discord.com/developers/applications) | Client ID + Client Secret |
| **GitLab** | [https://gitlab.com/-/profile/applications](https://gitlab.com/-/profile/applications) | Application ID + Secret |
| **Auth0(聚合 OAuth)** | [https://manage.auth0.com/](https://manage.auth0.com/) | Domain + Client ID + Secret |
| **Keycloak(自建)** | [https://www.keycloak.org/](https://www.keycloak.org/) | Client ID + Client Secret |
| | | |
# 升级程序和数据库
## 准备升级文件
线性升级 4.8 -> 4.9,不要跳跃升级
使用官方每次release的固定版本号,可以用官方release好的,或者本地自己用源码编译
准备好版本兼容的主题、插件
关闭网站/IIS
## 备份
**备份sql server数据库**:导出 `.bak` 或 SQL 镜像。
备份媒体文件
/wwwroot/images/ 文件夹(如果图片存在文件系统里)
备份配置文件
/Plugins /Themes /App_Data/DataProtectionKeys /App_Data/appsettings.json /App_Data/plugins.json
## 更新程序
清空旧程序的运行目录
将新编译好的程序文件全部拷贝到该目录中。
恢复配置文件
**合并自定义资源**:如果你修改过默认主题的 CSS 或图片,需要手动对比并合并到新文件夹。
## 更新数据库
确保 `appsettings.json` 中的连接字符串指向你的旧数据库。
### way1 官方推荐:
浏览器访问新网站,系统会检测现有数据库
如果数据库版本旧,会提示:
Your database version is lower than the current nopCommerce version
点击 Upgrade Database,系统会自动应用Migration
### way2 手动:
如果是开发环境,也可以直接执行
打开package manager console
执行
Update-Database
这会使用Entity Framework Core 自动升级数据库

升级后,重启IIS, 清理缓存,后台 → 系统 → 维护 → 清除缓存
或者删除 /App_Data/Cache

## 升级常见问题
| 问题                | 原因                     | 解决方案                                        |
| ----------------- | ---------------------- | ------------------------------------------- |
| 页面 500 / SQL 错误   | 数据库版本未升级               | 通过安装向导升级数据库<br>检查 `App_Data/logs` 下的日志      |
| 插件显示 Incompatible | 插件未更新                  | 获取插件新版本 / 重新编译插件                            |
| 登录失败              | DataProtectionKeys 不一致 | 保留原来的 `/App_Data/DataProtectionKeys`        |
| 静态资源缺失            | `/wwwroot` 文件未迁移       | 拷贝旧站点的 `/wwwroot`,尤其是图片、附件                  |
| 页面全是空白或 500 错误    | 插件不兼容                  | 暂时删除 `Plugins` 文件夹下所有第三方插件,先让核心系统跑起来,再逐个添加。 |
| 图片无法显示            | 路径变更                   | 检查 `Media settings`,确认图片存储路径与新程序的物理路径一致。    |
# FAQ
## 备份附件资源
那么上传的产品图片,网站logo图片等等各种media,分别都在哪里?如何备份?
在Media settings里面设置为file system。
所有通过后台上传的商品图、分类图、品牌 Logo 等,默认存放在:
/wwwroot/images/
**如果你想从数据库切到文件夹**:在 `Media settings` 点击 **Change** 后,系统会自动把你数据库里成千上万张图片提取出来,放到 `/wwwroot/images/` 下。**操作前务必先备份数据库!**

**不要备份 Thumbs 文件夹**:在文件系统模式下,`/wwwroot/images/thumbs/` 里的文件是不需要备份的。只要原始图(Source)在,nopCommerce 在运行中发现缺少缩略图时,会自动重新生成它们。
> `_Thumbs`是缓存目录,可以通过清理cache清空。不需要备份。如果这个文件夹丢失,系统会根据原图自动重新生成。不备份它能节省磁盘空间和备份时间。
> System > Maintenance > Clear image cache
### 网站 Logo 的特殊位置
Logo 通常有两种存在方式:
1. **后台上传**:存储位置遵循media settings > “数据库 vs 文件系统”设置。
2. **主题预设**:如果你是直接修改代码,Logo 往往物理存放在:
    - `Nop.Web/Themes/[YourThemeName]/wwwroot/images/logo.png
    - 或者 `Nop.Web/wwwroot/images/logo.png`
## 基于release版本进行二次开发
查看release tag
c:\Workspace\NopCommerce>git tag release-4.70.5 release-4.80.0 release-4.80.0-beta release-4.80.1 release-4.80.2 release-4.80.3 release-4.80.4 release-4.80.5 release-4.80.6 release-4.80.7 release-4.80.8 release-4.80.9 release-4.90.0 release-4.90.0-beta release-4.90.1 release-4.90.2 release-4.90.3
切换到具体版本
git checkout 6.3.0
Note: switching to ‘6.3.0’. You are in ‘detached HEAD’ state.
在这个版本基础上,创建一个新分支,并继续开发:
git checkout -b feature-test ```
Reference
https://docs.nopcommerce.com/en/installation-and-upgrading/technology-and-system-requirements.html#supported-web-servers