Prepare environment
-
operating system windows 10+, sql server 2022 developer+
-
control panel > program and features > turn windows feature on/off > IIS > Application Development Features > select all
![[20250418-nop-1.jpg]]
- For nopCommerce 4.80: Install .NET 9 runtime Download .NET (Linux, macOS, and Windows)
-
For nopCommerce 4.80 or above: MS Visual Studio 2022 (version 17.12 or above). install .NET 9 SDK (download)** ![[20250418-nop-2.jpg]]
-
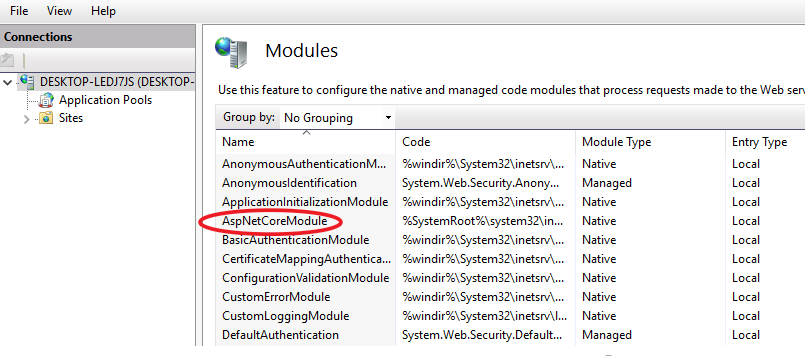
open iis > root > modules, check aspnetcore module
Install website without source code
-
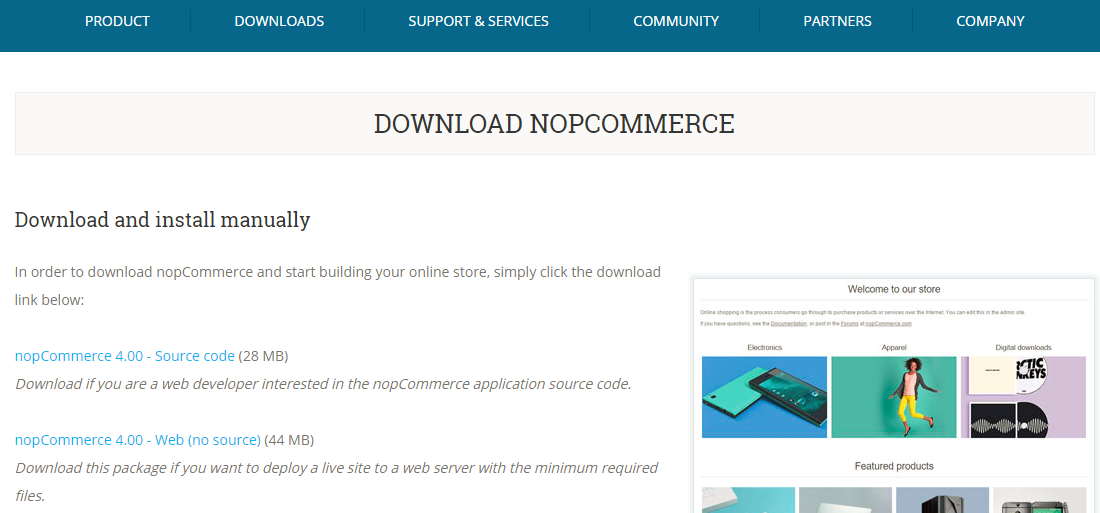
download nopCommerce - Web (no source) at https://www.nopcommerce.com/downloads.aspx
- Enable IIS at Settings > Windows feature on/off
-
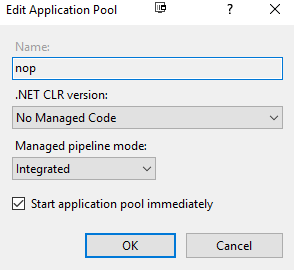
IIS > application pools > add a new application pool > CLR version - No Managed Code
-
unzip the dist files > IIS > sites > new a website > application pool is the new added one

-
open browser > navigate to the new website
-
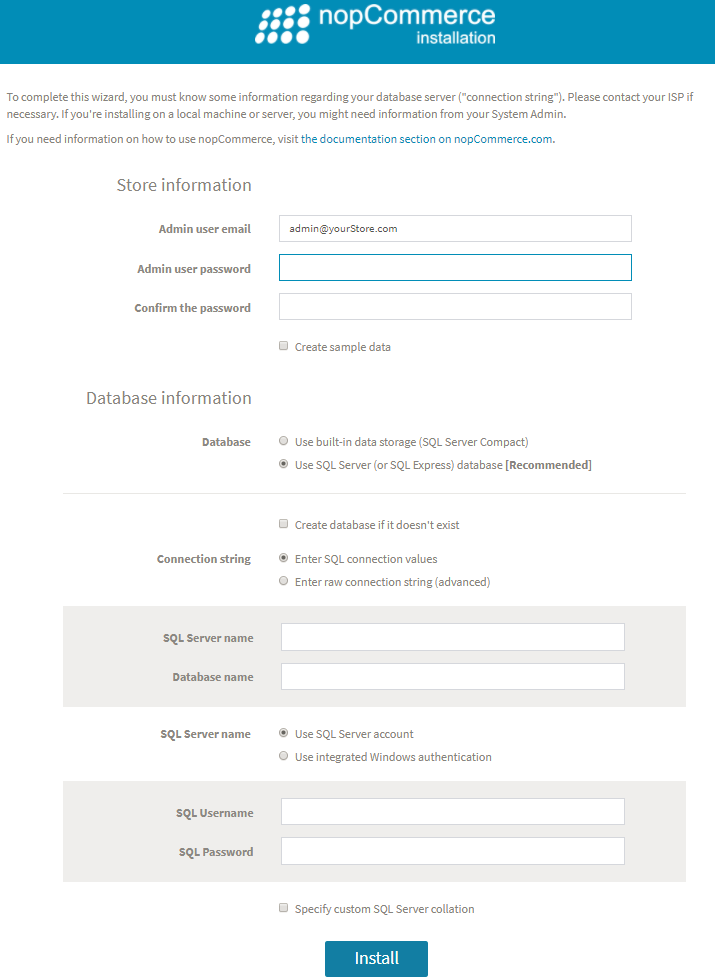
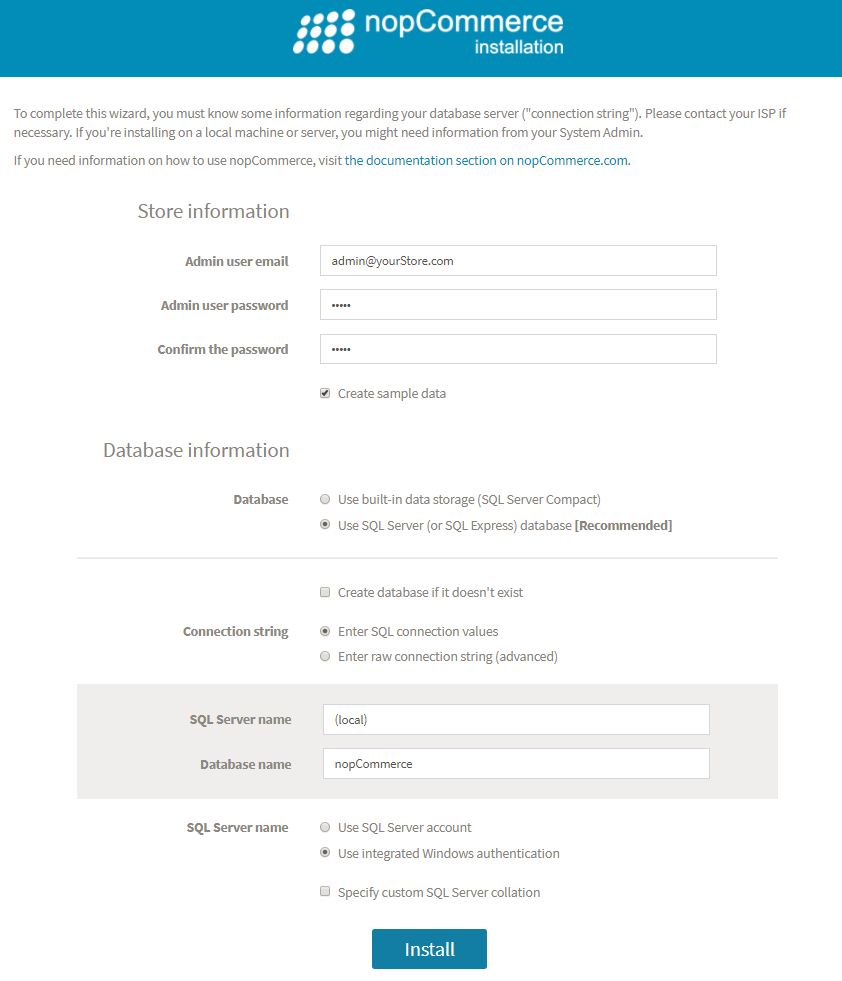
sql server manage studio > create a new empty database
-
return to website > enter database credentials, set admin password

-
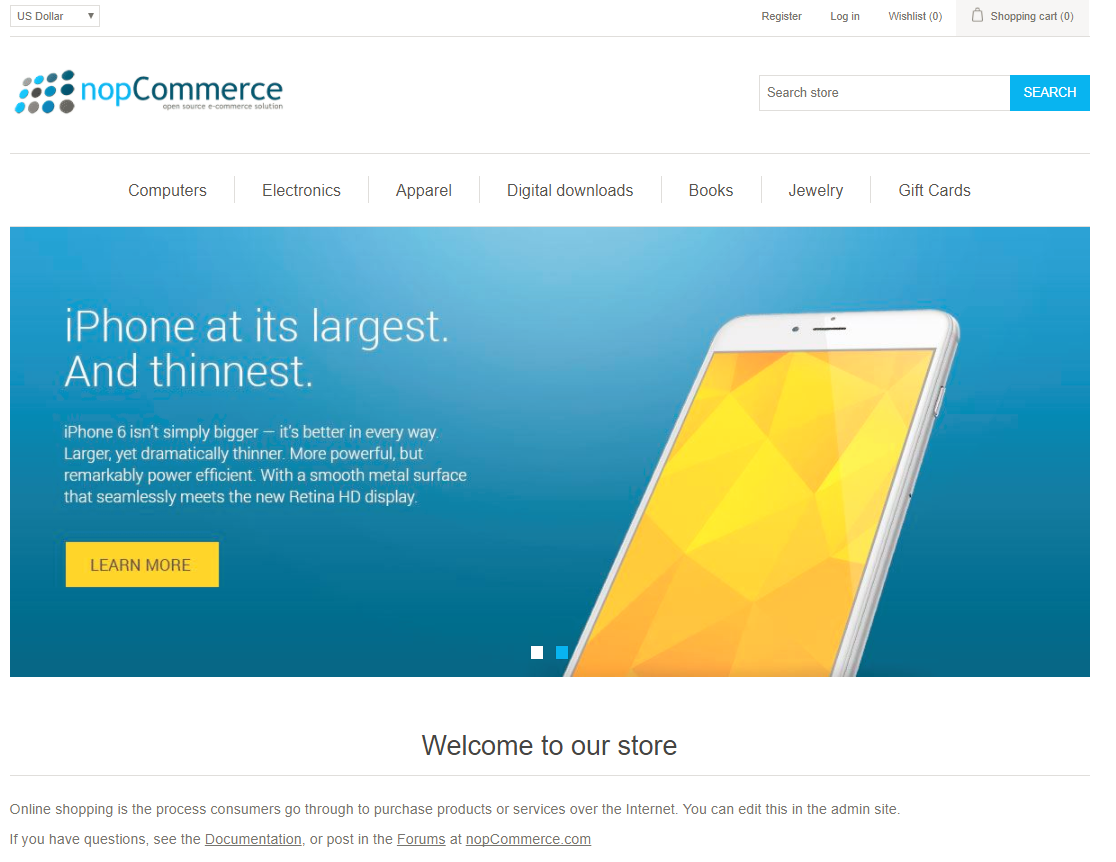
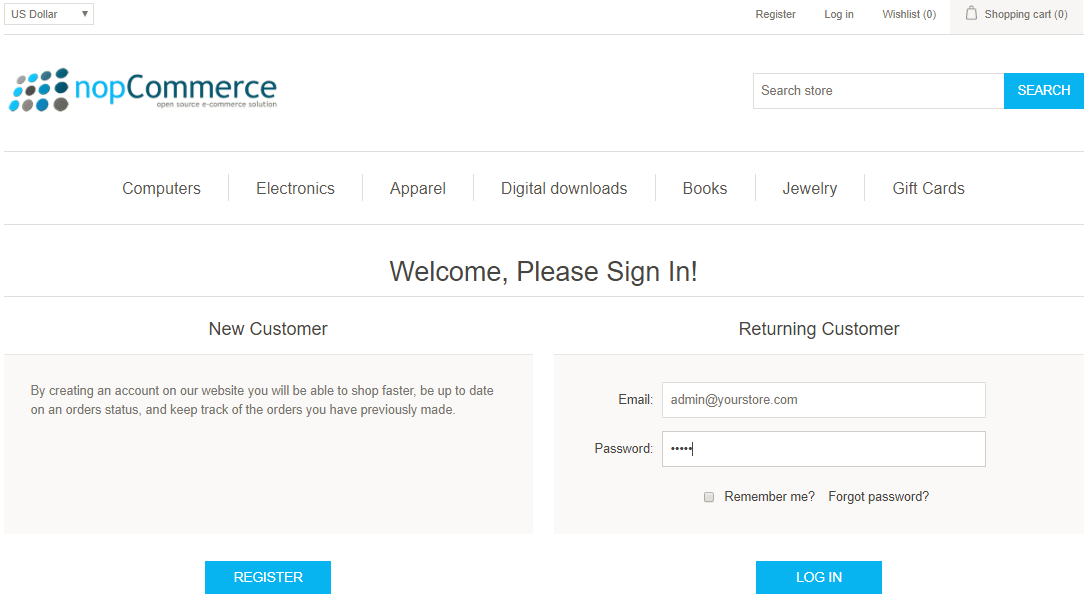
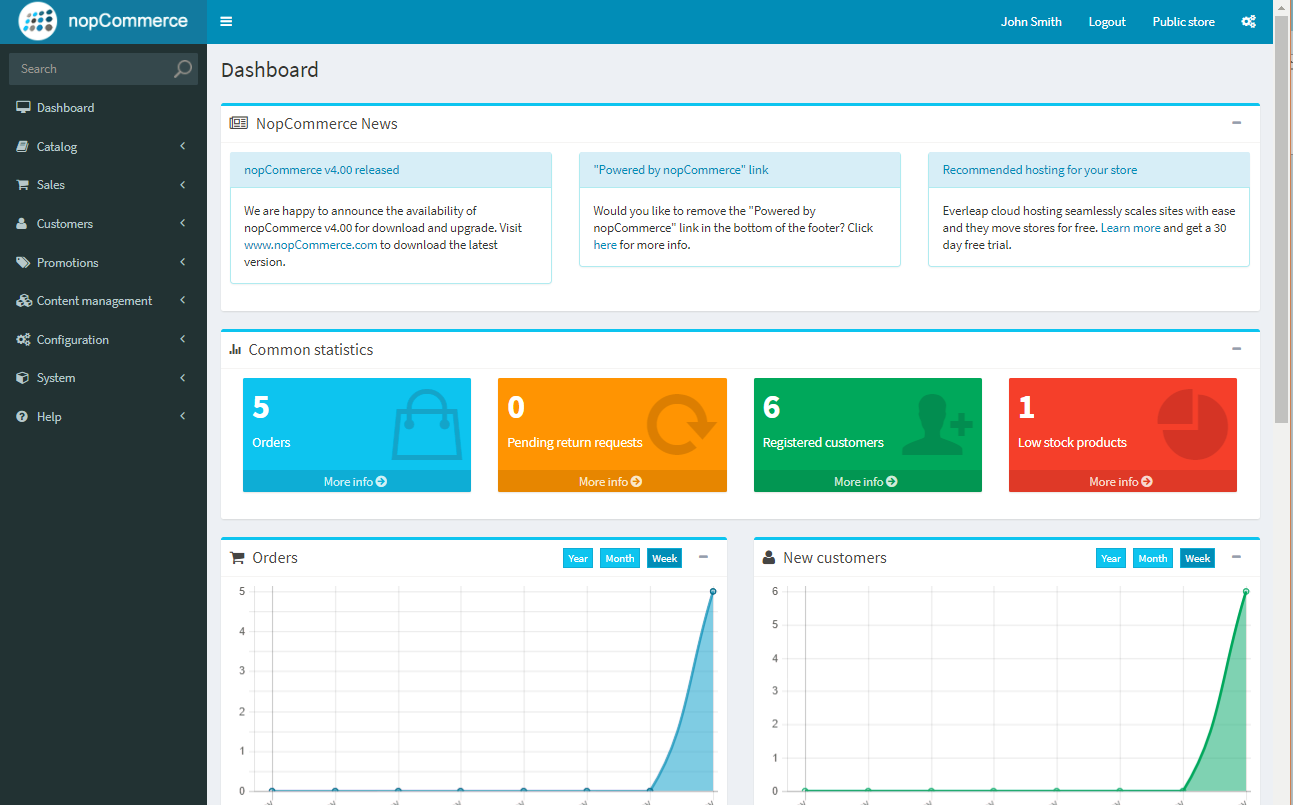
Test the website, login with admin password
Install the website with source code
-
Install visual studio 2022
-
download nopCommerce - source code at https://www.nopcommerce.com/downloads.aspx
-
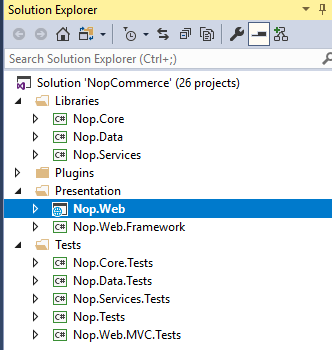
unzip and open the solution > nop.web project > App_Data > create dataSettings.json > change the connection string.
 {
   "DataProvider": "sqlserver",
   "DataConnectionString": "Data Source=(local);Initial Catalog=nopCommerce;Integrated Security=true;Persist Security Info=False;",
   "RawDataSettings": {}
 }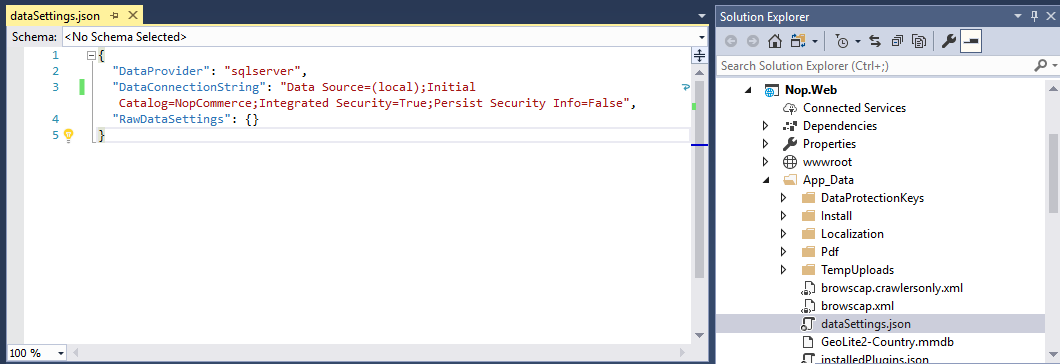
Here we assume the nopCommerce database was already created. If not, follow the previous installation instruction to initialize the database tables.
If you already have a exisitng database, please specify the proper connection string.
-
visual studio > set nop.web project as startup > run
Reference https://docs.nopcommerce.com/en/installation-and-upgrading/technology-and-system-requirements.html#supported-web-servers